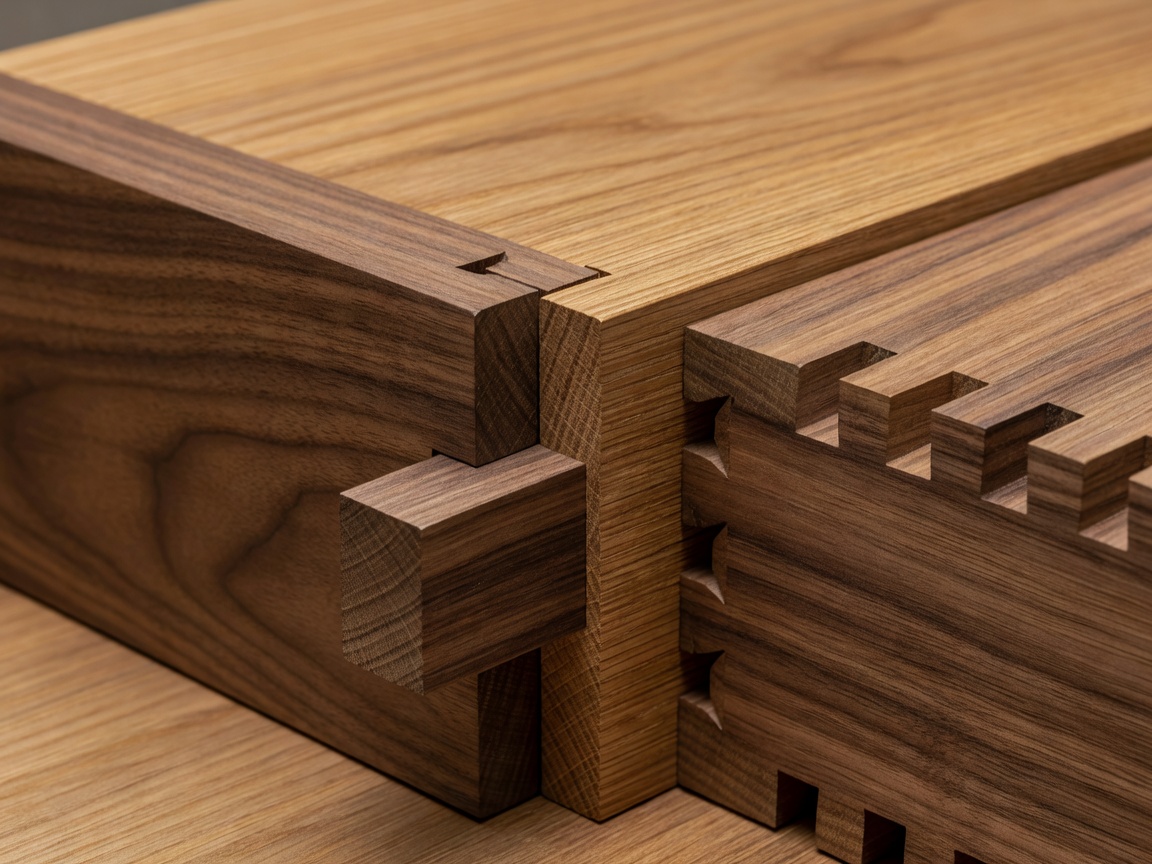
Start with the forces acting on the joint
Ask whether the joint must resist pulling, racking, bending or sliding. Grain direction controls both strength and glue performance. Long-grain surfaces generally bond effectively, while end grain offers less useful bonding area. Demanding joints therefore need mechanical interlock or adequate long-grain contact.
Tooling and repetition also matter. Hand-cut joinery can be efficient for one fitted component, while a jig or machine setup becomes useful across a batch. An accurately made simple joint is preferable to an elaborate joint with damaged shoulders or an uncertain fit.
Frames benefit from long-grain connection
The mortise-and-tenon joint is widely used for frames because it provides long-grain glue surfaces and resists racking. The tenon should remain strong without leaving thin mortise walls. Mark both components from established reference faces so any small offset appears consistently.
Cut the mortise first when practical, then fit the tenon to it. The tenon should slide home with firm hand pressure. If dry assembly requires heavy hammering, glue swelling may make final assembly impossible. Loose tenons and dowels can also work well when their positions are controlled accurately.
Choose cabinet joints by support and appearance
Dovetails resist pulling and expose long-grain bonding surfaces, making them useful for drawers and boxes. Housings directly support shelves and improve registration during cabinet assembly. Mitres create continuous grain around a corner but usually benefit from splines, loose tenons, keys or internal blocks.
| Application | Useful joint | Primary advantage |
|---|---|---|
| Table or door frame | Mortise-and-tenon | Racking resistance and long-grain bonding |
| Drawer corner | Dovetail or reinforced rebate | Resistance to pulling forces |
| Cabinet shelf | Housing | Direct support and easy registration |
| Visible box corner | Reinforced mitre | Continuous grain appearance |
Plan the dry fit and glue-up
Dry-assemble the full structure before applying adhesive. Check diagonals for square, confirm that clamps can reach and identify the order in which parts must come together. Prepare cauls where pressure needs to be distributed and protect visible surfaces from clamp pads.
A joint can be too tight. Excessive pressure may split mortise walls or scrape away most of the adhesive. A visible gap cannot reliably be repaired by filling it with ordinary woodworking glue. Correct the responsible surface, then use an adhesive suitable for the material, environment and required working time.